I first saw this style on Jennifer Aniston! Needless to say it looks much different on a baby. :) It goes to show that a lot of these styles can be worn on adults, I guess! No need to "outgrow" them as we get older! :)
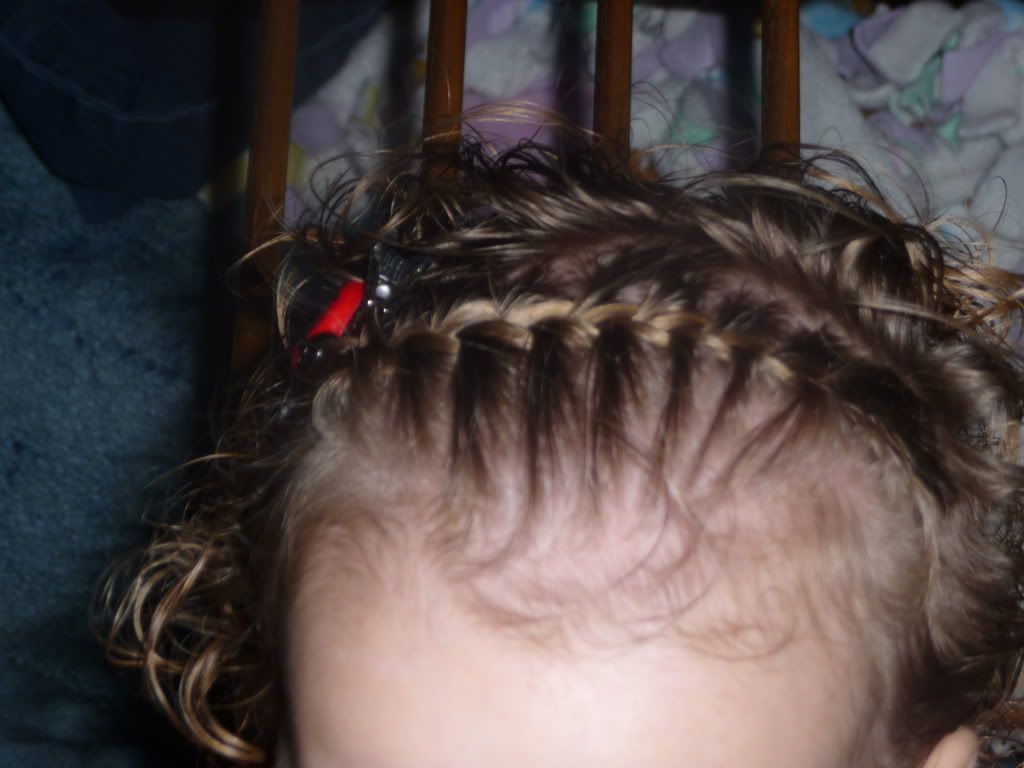
Then you start the French Braid by taking up extra hair from the sides and adding to the "edge piece" as you cross it over to the center. Then add from the other side as you cross that "edge piece" over to the center, then back to the first side, and so on and so forth!
In this next picture, the hair between the first and middle fingers is the "new" extra hair that I just picked up. It's going to be joined with the hair that I've just crossed... and you can see a strand laying on Q's head... that is my new edge piece (for next time).


This is just a normal French Braid, but it's sideways instead of straight back. So I stand by her shoulder and I've turned the camera and taken the pictures sideways... so that it's straight in orientation to the braider. :) (The same as I'm standing in relation to Q.)
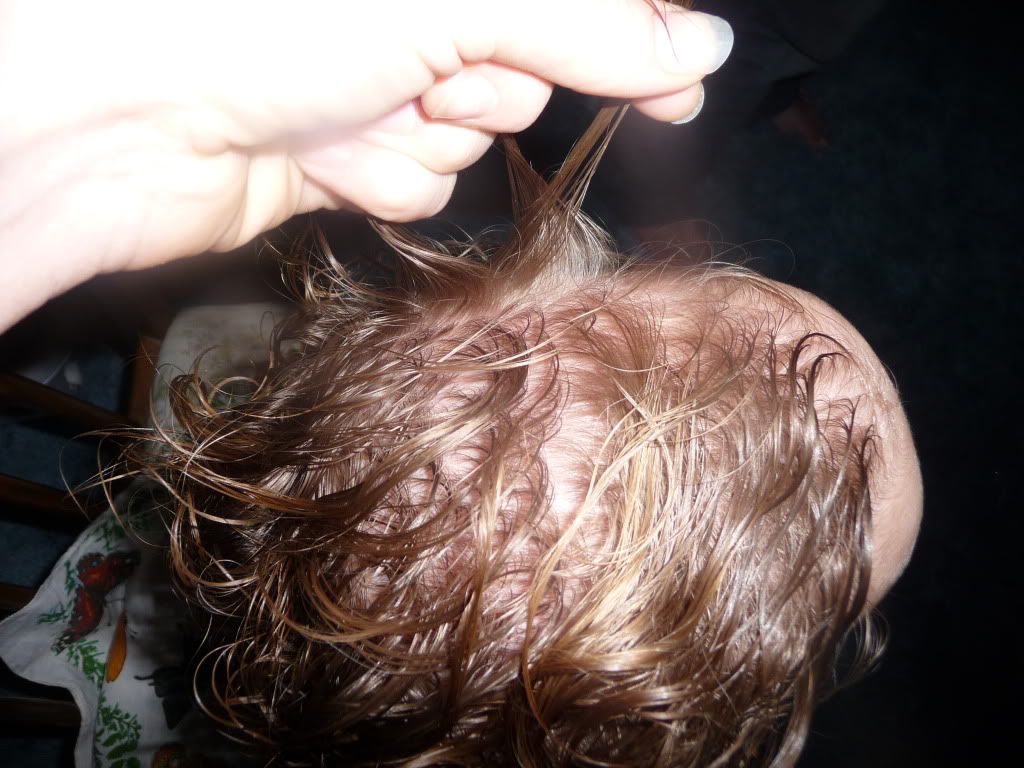
Start with a piece of hair wherever you want the braid to start. Then divide it into three sections. Start braiding as normal!
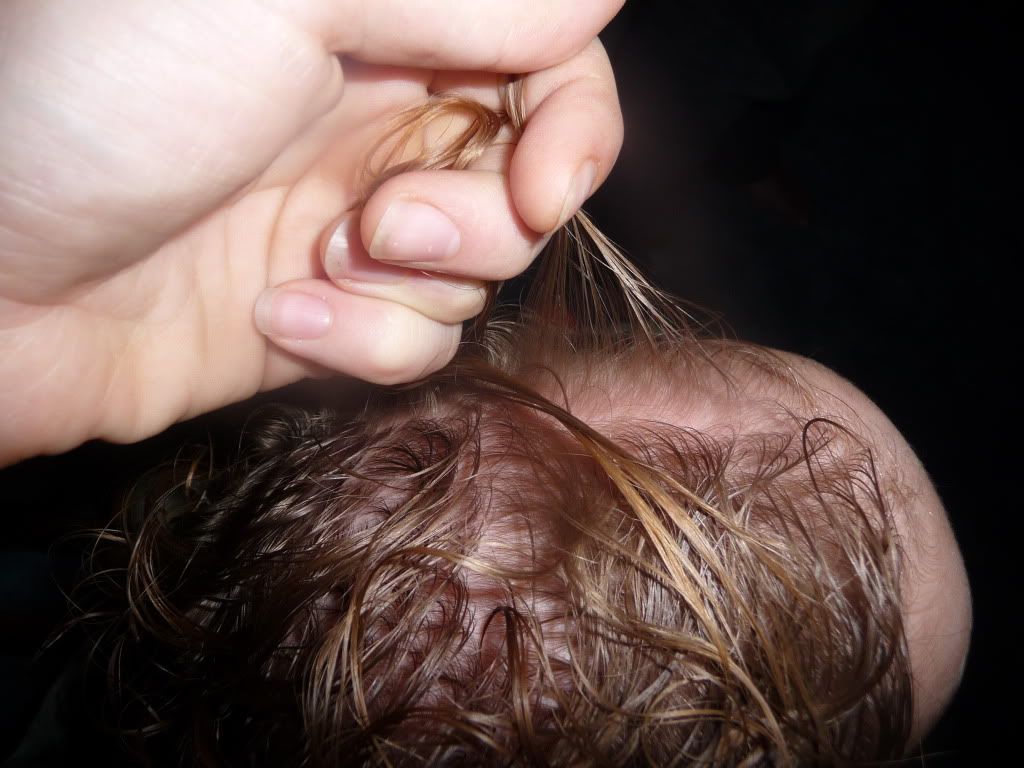
Then you start the French Braid by taking up extra hair from the sides and adding to the "edge piece" as you cross it over to the center. Then add from the other side as you cross that "edge piece" over to the center, then back to the first side, and so on and so forth!
In this next picture, the hair between the first and middle fingers is the "new" extra hair that I just picked up. It's going to be joined with the hair that I've just crossed... and you can see a strand laying on Q's head... that is my new edge piece (for next time).
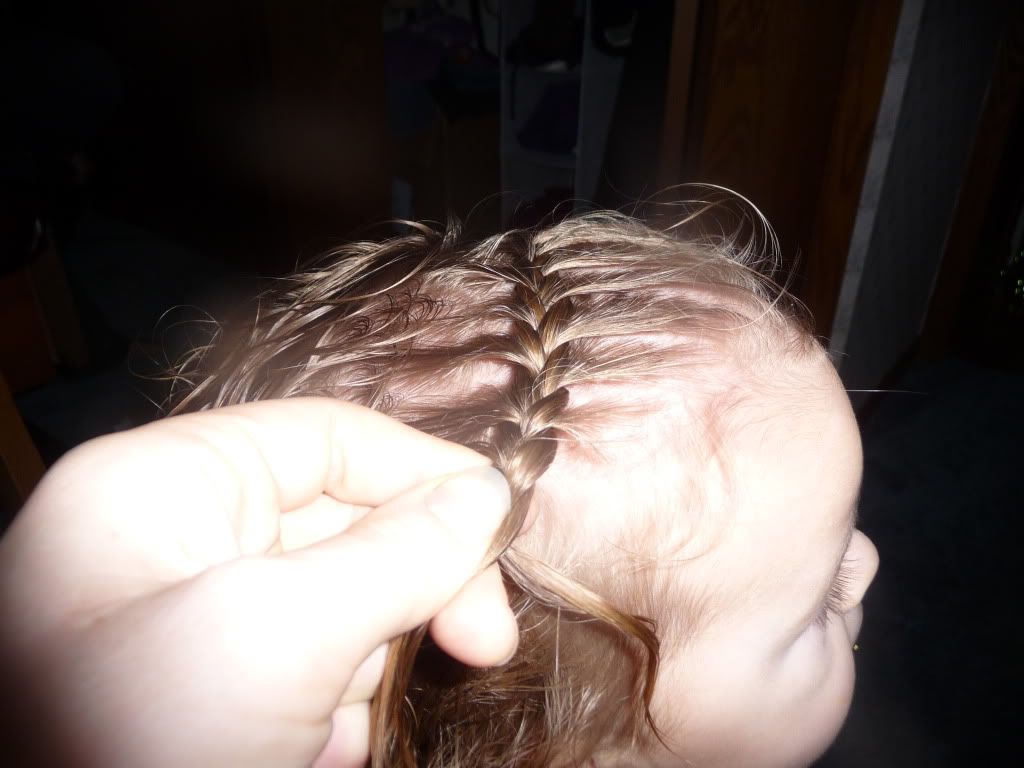
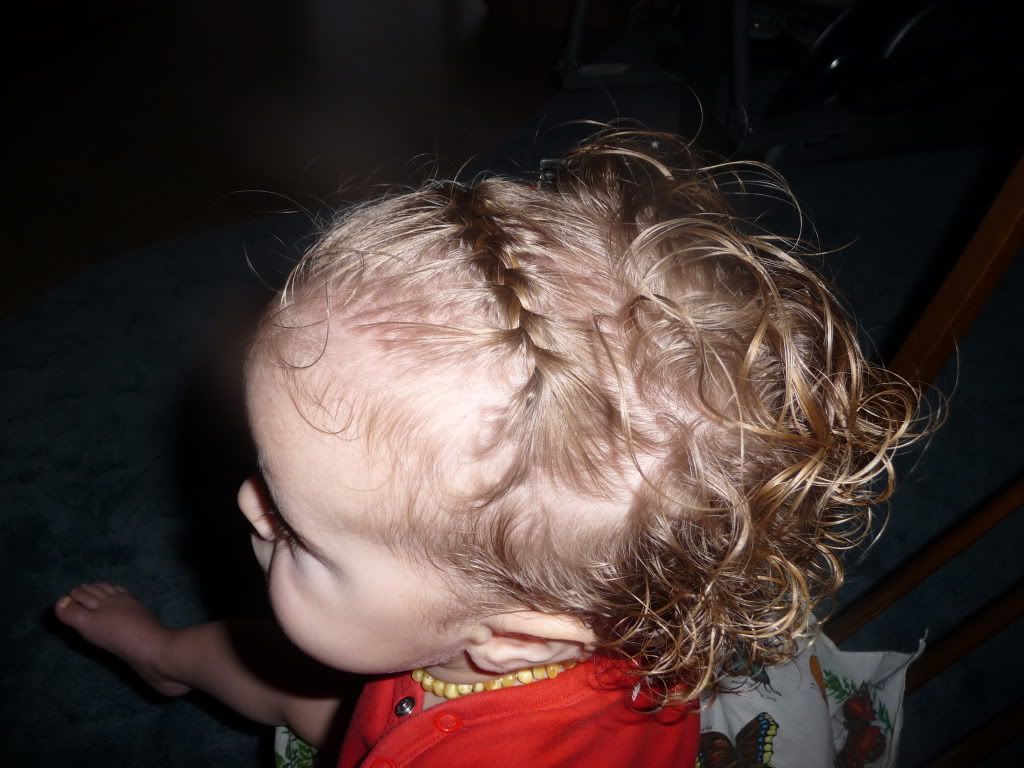
Then just make a French Braid across the head!
If you go from ear to ear, it's like a hair-headband...
When you are done adding hair, just finish off by braiding the rest in a normal braid.
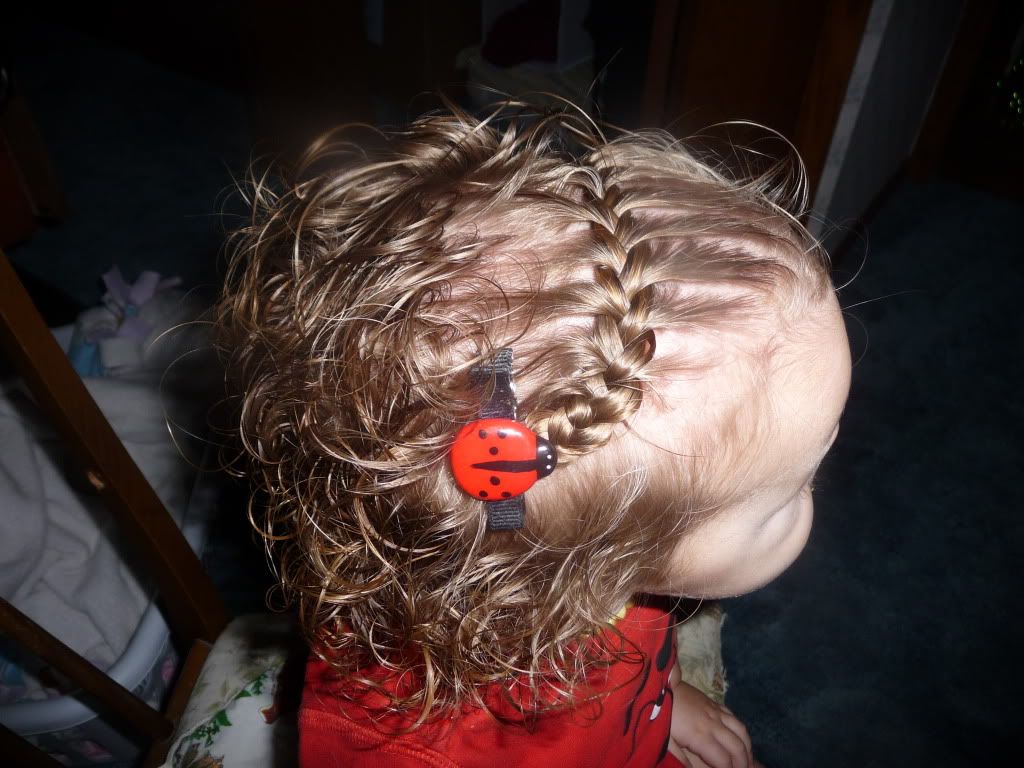
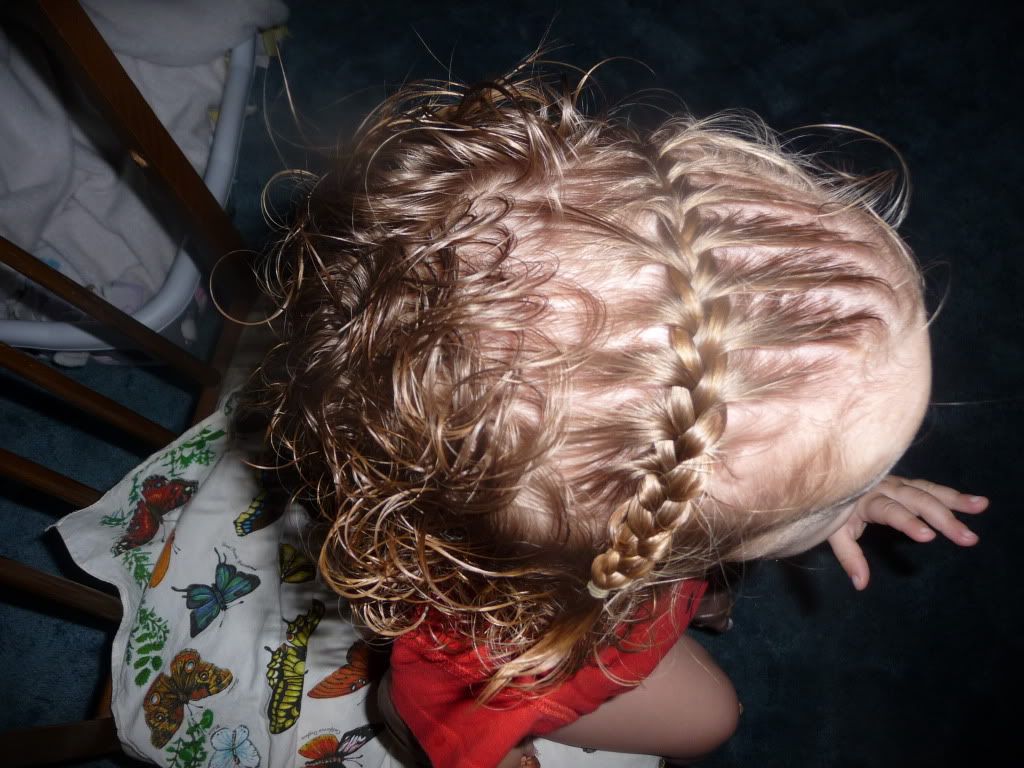
Then you end up with this!
At which point you can be done :) Or you can tuck up the end underneath the braid, or you can pull it back and add a cute little clip!
Enjoy!
I love this french braid headband for toddlers! I am going to try it out and send you a pic. I think my 2 year old will let me do this.
ReplyDeleteThanks!
Lynn in Seattle
OH! I would LOVE a picture! How fun!! I can't wait to see your daughter's 'do!
ReplyDeleteBeatiful! Looks complicated though!
ReplyDeleteIf you know how to french braid, it's not hard at all! If you don't know how yet - then it's a pretty good one to practice on because you're not having to use all the hair at once. To make it easier, you can make a part in the hair, from ear to ear and clip all the hair out of the way that you're not going to use.
ReplyDeleteGive it a try! and then send pictures! :)
This is one of the cutest hairdos I've seen. Especially mixed with the curly hair. I'm going to practice on my straight hair girl until I can do it on my curly sue. Thanks for making the tutorial!
ReplyDelete