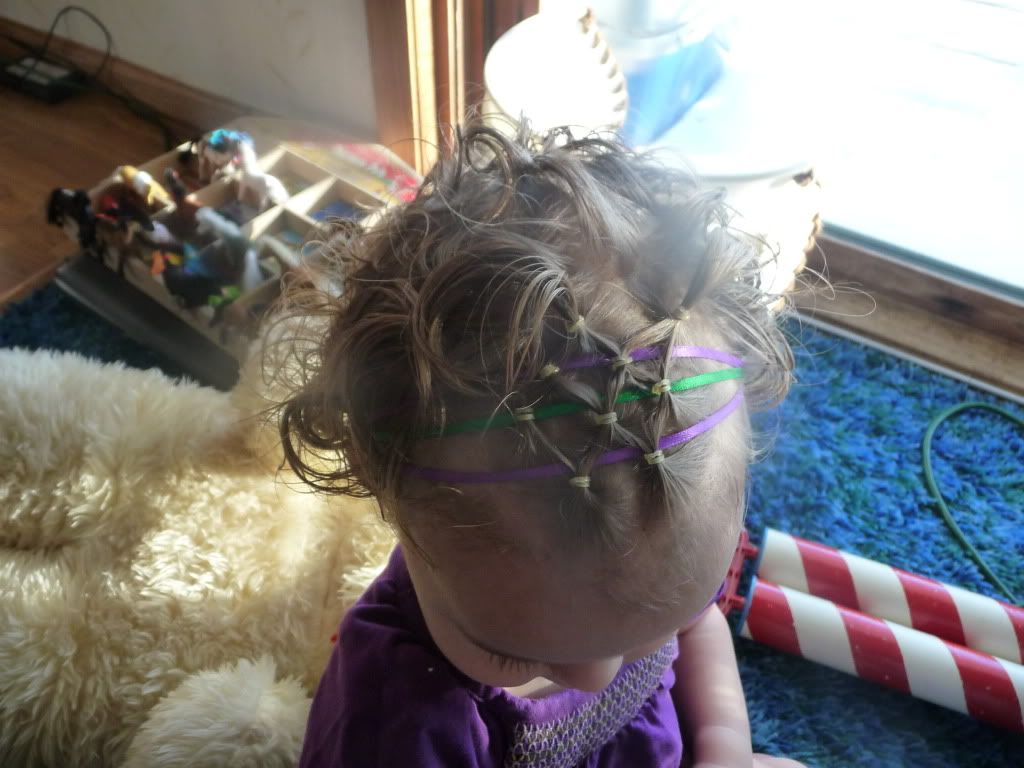
I'm really excited about this one! I really like the "hair headband" ideas for keeping Q's hair out of her eyes, yet letting her curls hang free :) Plus the back isn't really long enough to do much with it yet. I found the ideas for today at another great hair blog (Babes in Hairland) and I'm combining this one and this one, and smocking, too!
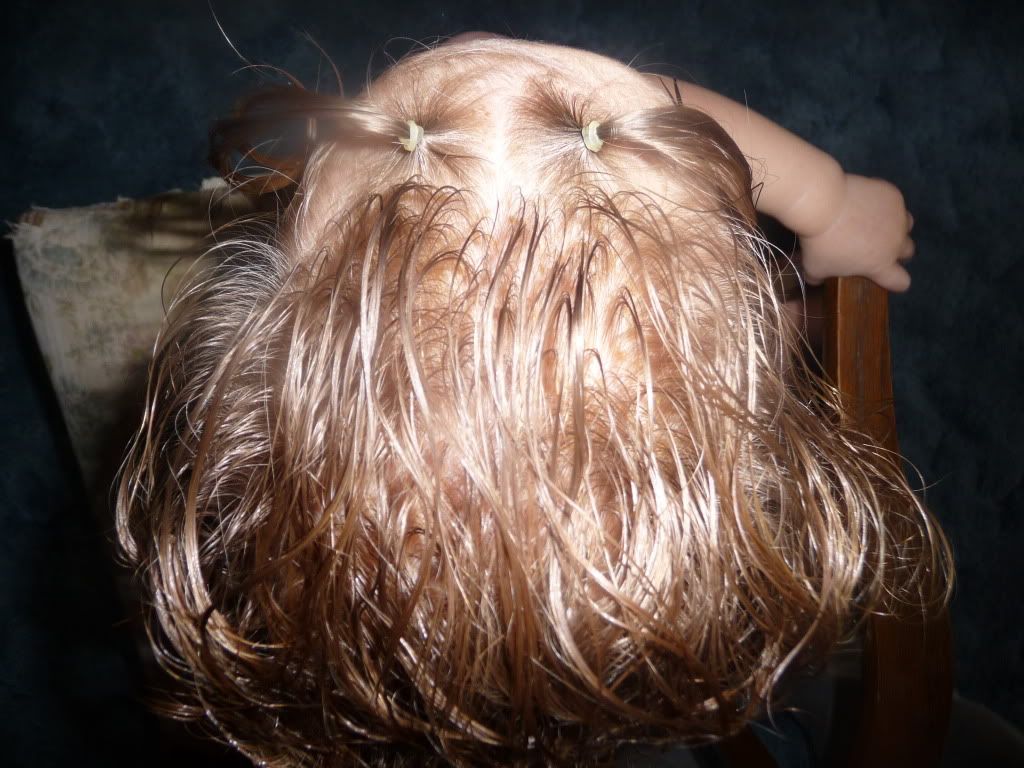
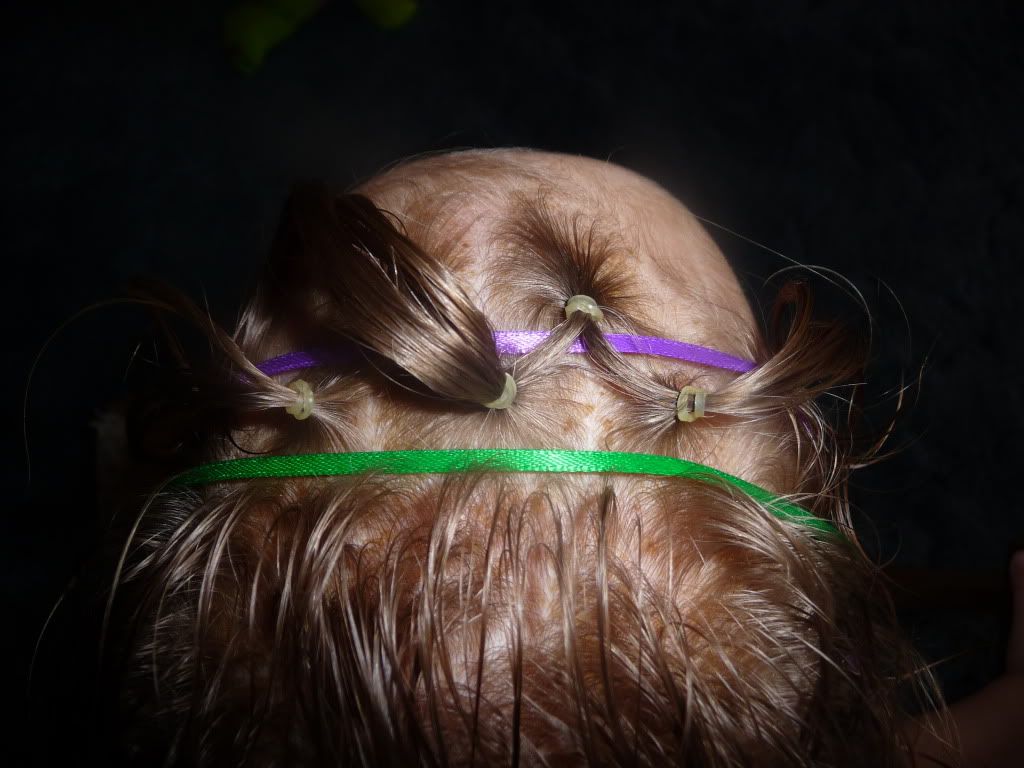
First I made two little tiny ponytails in the front of her hair...
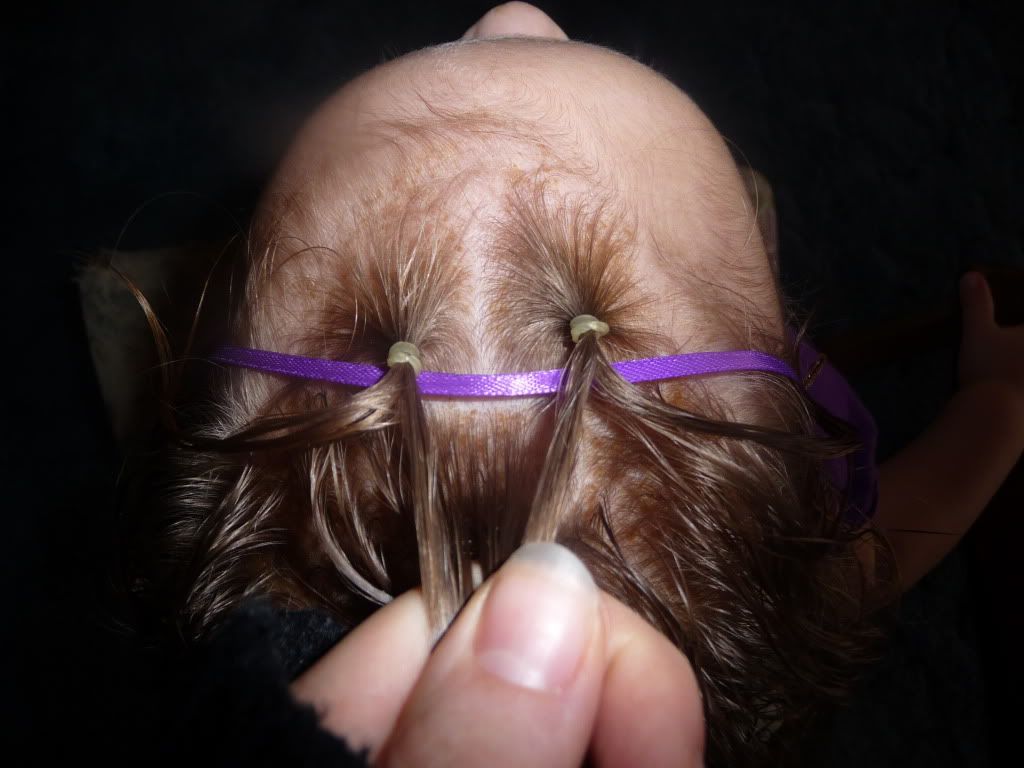
Then I flipped them forward and laid a ribbon just behind them.
Next, I started "smocking", gathering a ponytail on the other side of the ribbon and placing half of each "tail" into it as well.
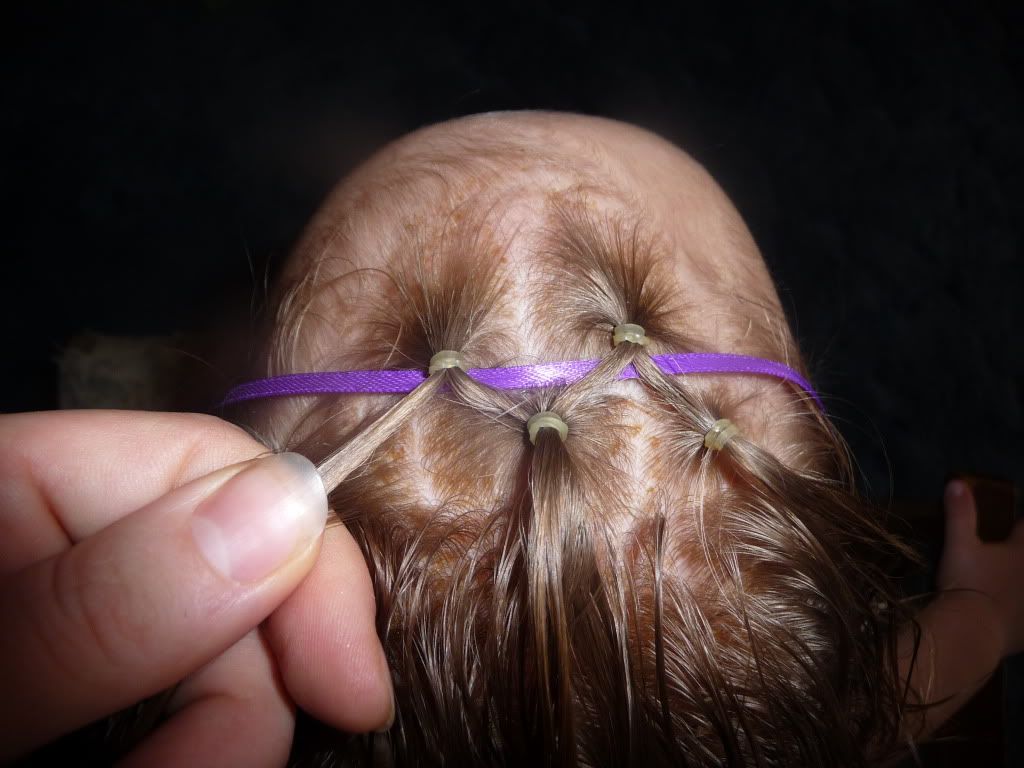
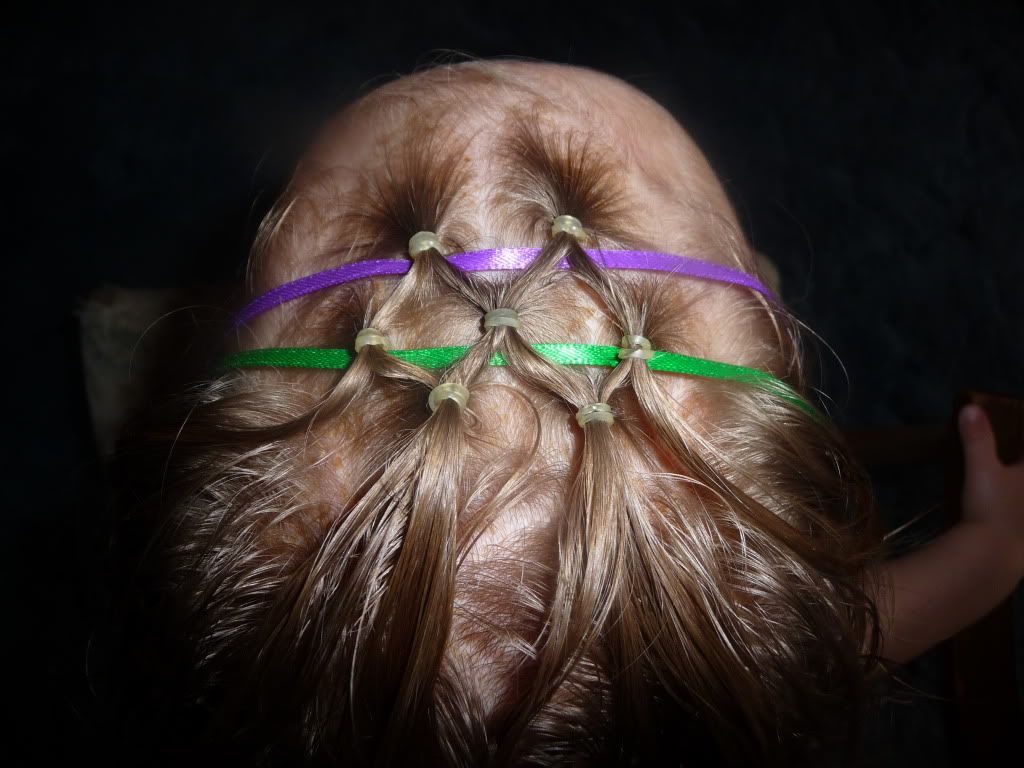
Then I flipped them all forward and laid in another ribbon. (I like the thin ribbons in Q's hair because she's so young and little, and therefore has a small head! - and the ribbons are smaller and daintier than a big thick ribbon. I'm sure I'll love those too, when I try them, but for now I like the thinner, more subtle look.)
Then I just continued as before. Adding half of each "tail" to a new little pony...
First I made two little tiny ponytails in the front of her hair...
Then I flipped them forward and laid a ribbon just behind them.
Next, I started "smocking", gathering a ponytail on the other side of the ribbon and placing half of each "tail" into it as well.
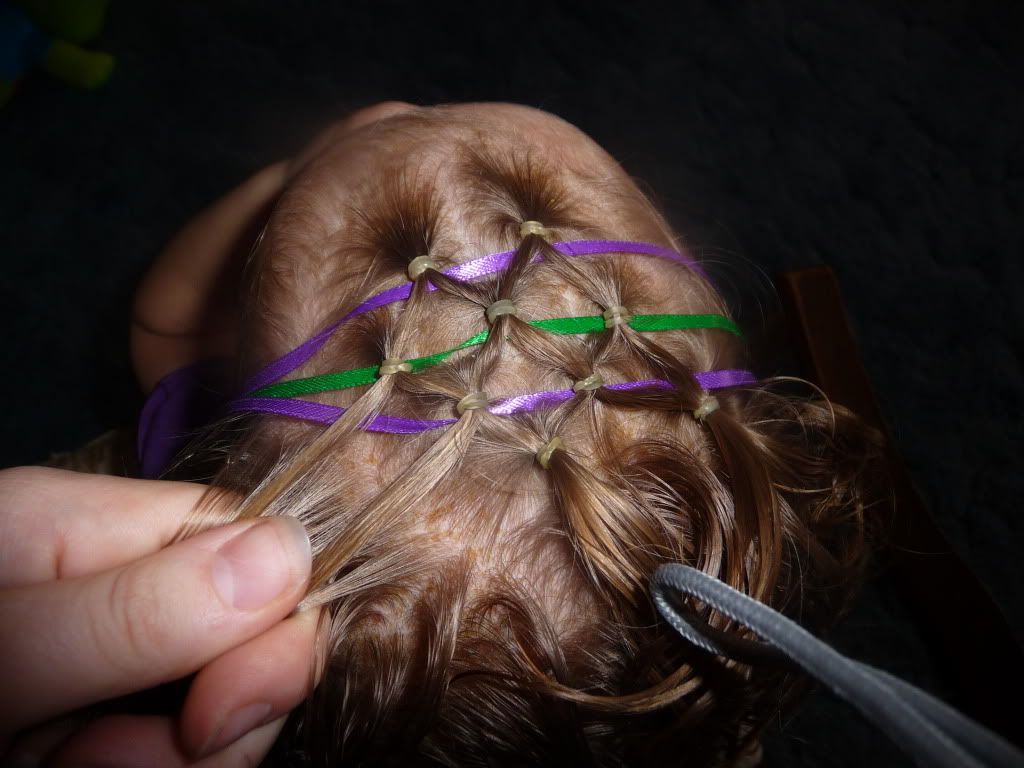
I made 3 new little ponies behind the ribbon...adding the previous "tails" in as I went ...

Then I flipped them all forward and laid in another ribbon. (I like the thin ribbons in Q's hair because she's so young and little, and therefore has a small head! - and the ribbons are smaller and daintier than a big thick ribbon. I'm sure I'll love those too, when I try them, but for now I like the thinner, more subtle look.)
Then I just continued as before. Adding half of each "tail" to a new little pony...
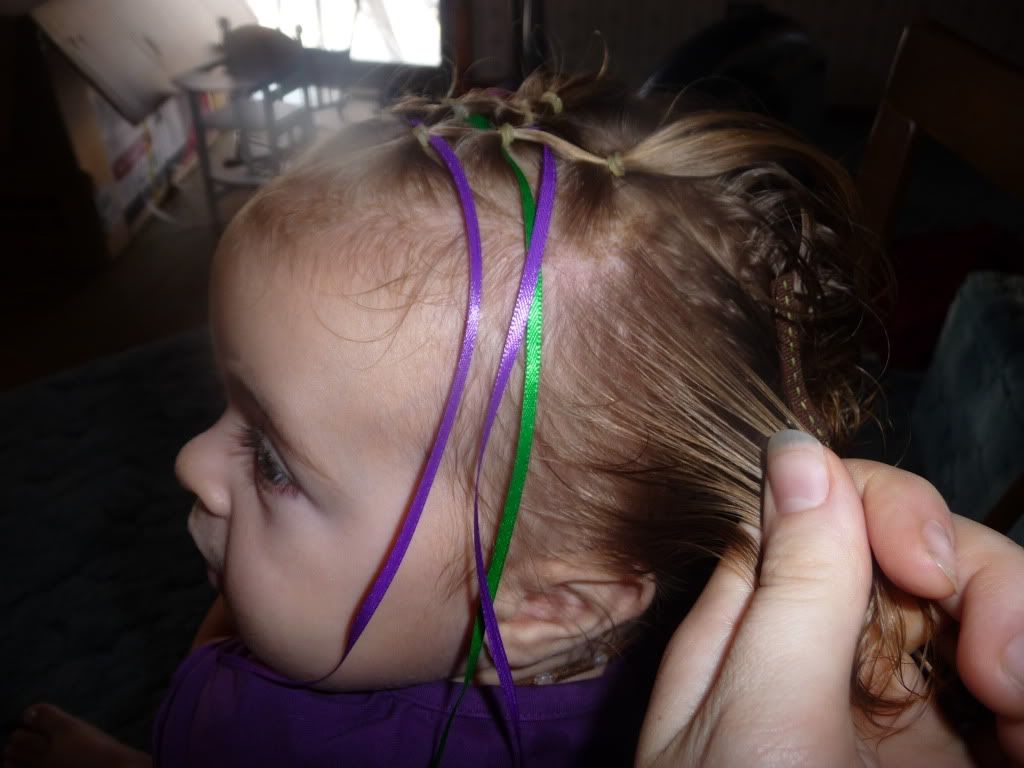
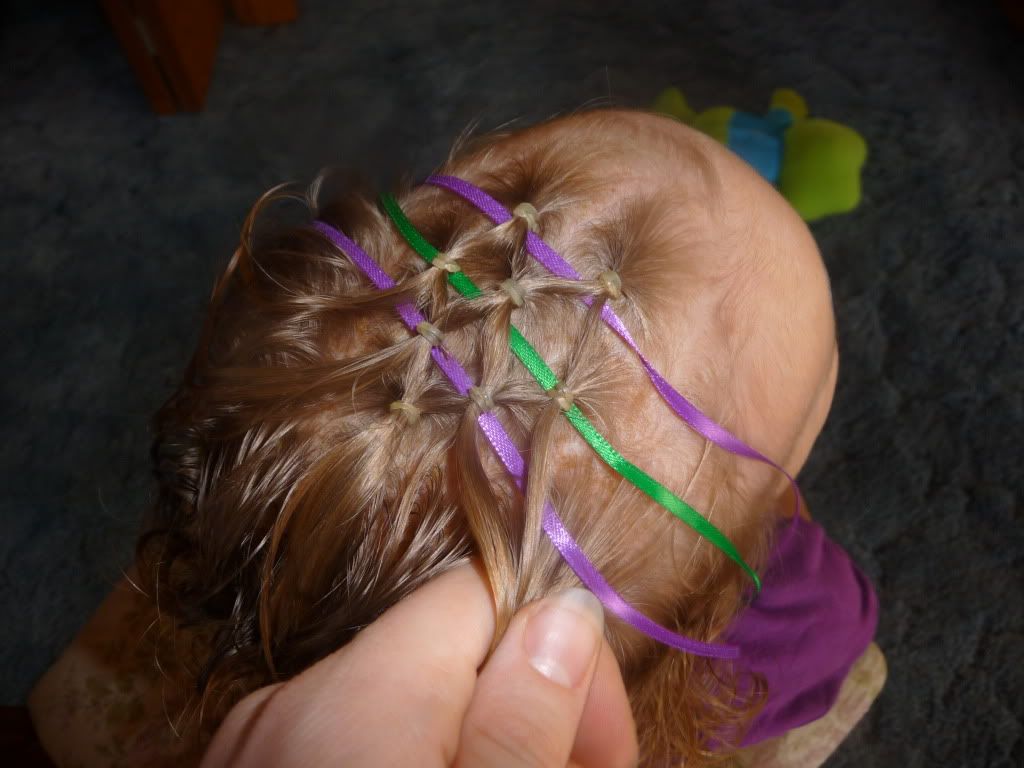
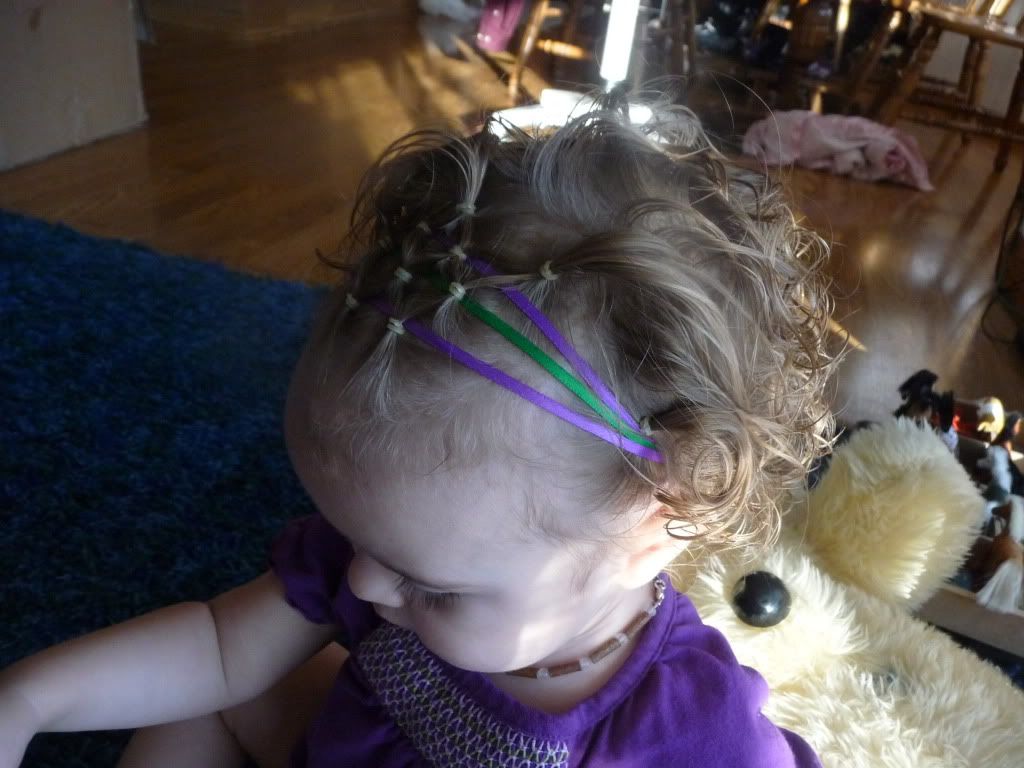
Add the third ribbon and continue as before! (This isn't an exact science, as you can see, I didn't do each row exactly the same, etc. Just do what seems right! Q didn't really have enough hair on the edge to put that 3rd and 4th smocking into the third row, so I just left it until after the ribbon was in - then it could be pulled back further where there was more hair! ...did that make any sense?! lol)
and the other side...

Because Q doesn't have much hair on the sides I didn't try to continue the smocking down that far, but I did think it would help the ribbon stay to get that hair back a bit... so I added one elastic to each side...

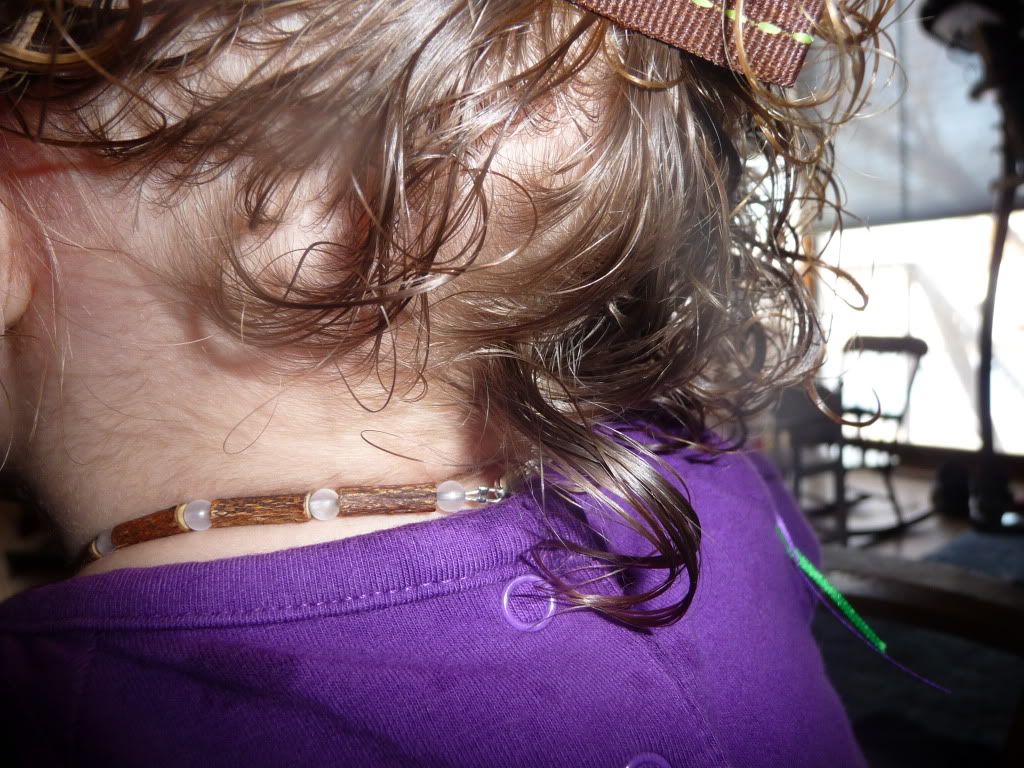
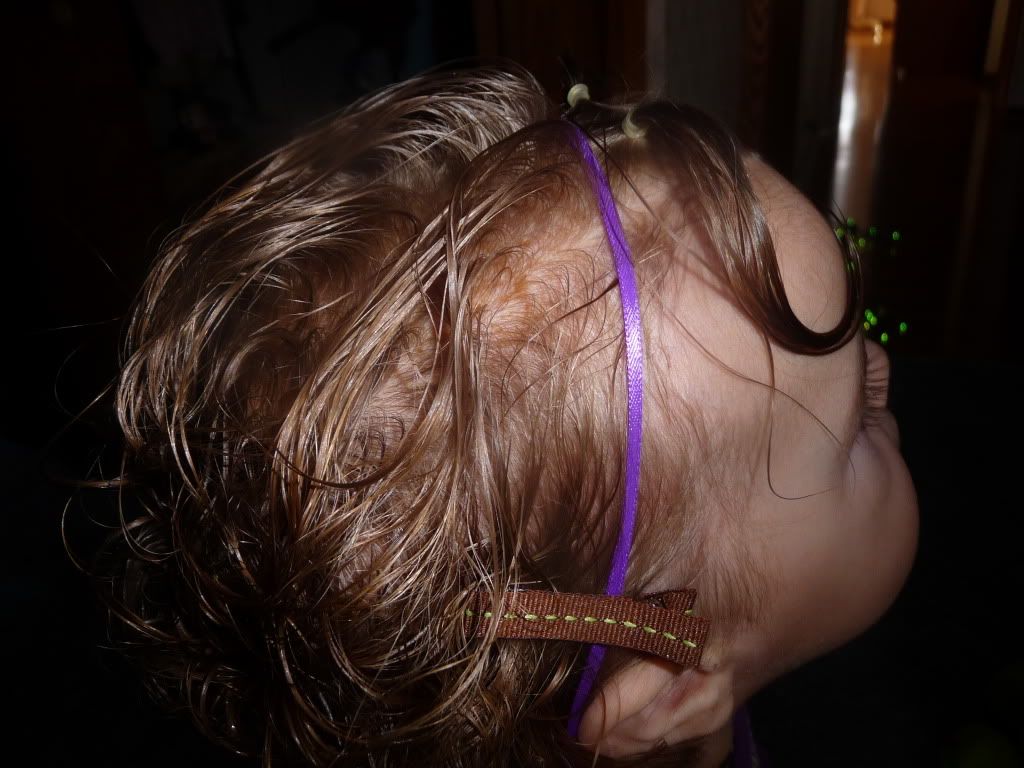
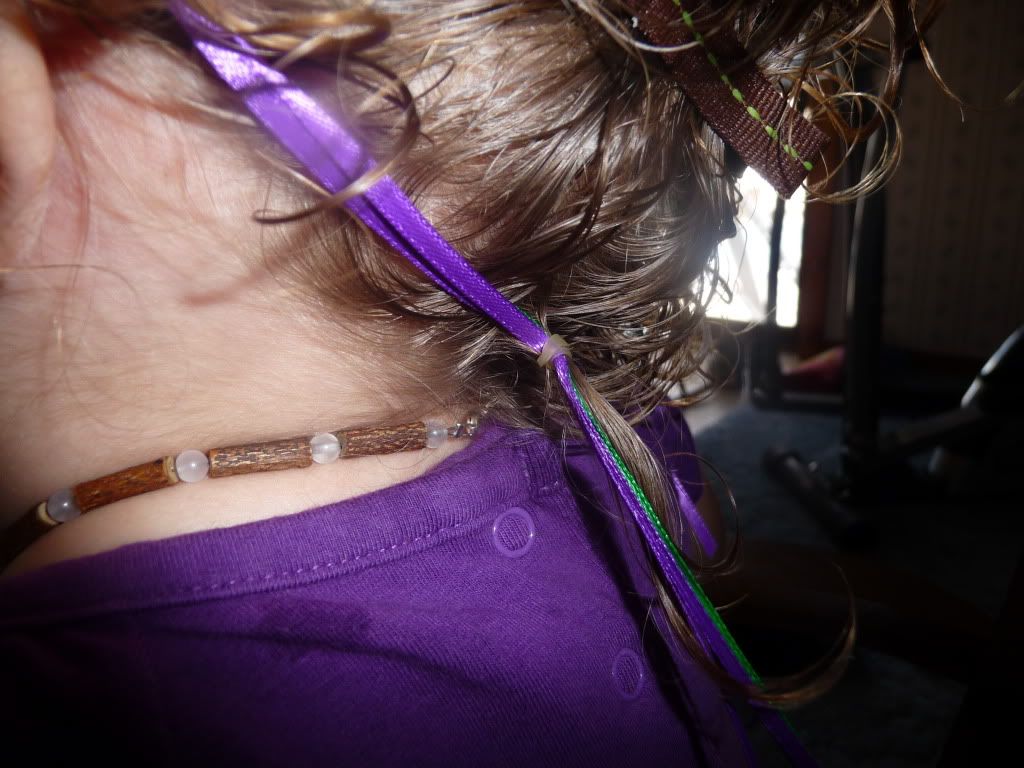
THEN... for the ends of the ribbons that you have just hanging around.... find a piece of hair underneath in back and make a little "anchor" ponytail down there, that you put the ribbon into as well. This will keep the ribbon nice a snug and just where you want it all day! (In our case, that included a 3.5 hour nap!)

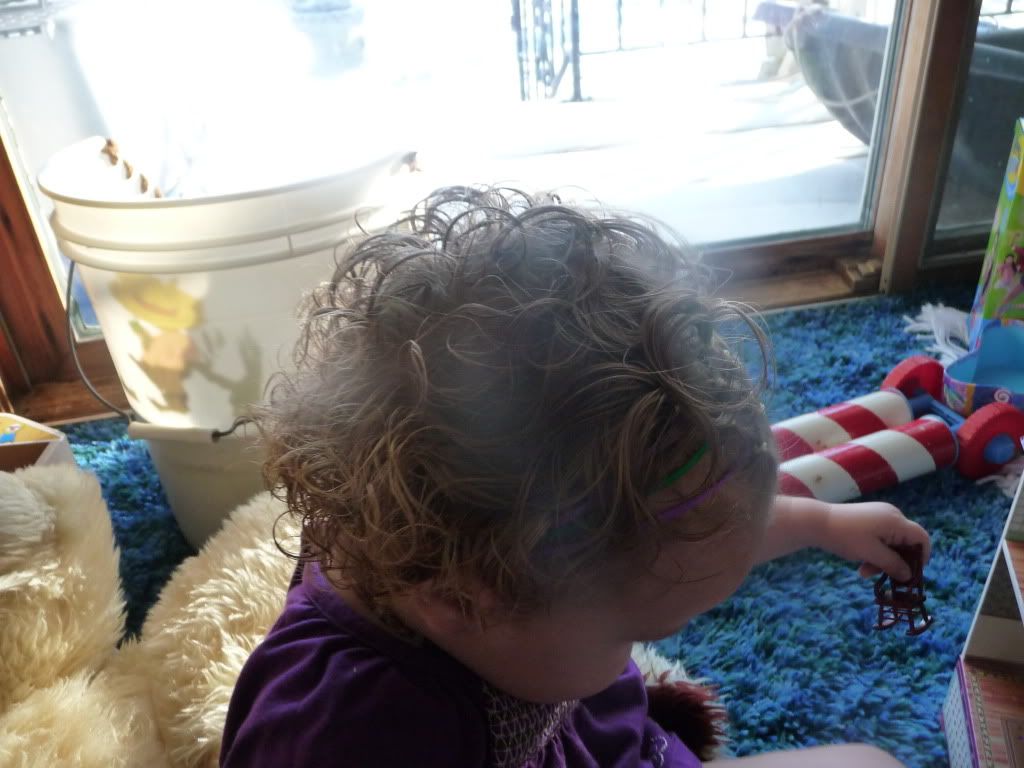
Do that on each side, then tie the ribbons together under the head ... and you're done! (and at this moment, my camera battery died, so I had to take "finished" pictures later - while Q was playing in front of the big window, so sorry for the picture quality!)

I hope you like this one as well as I do! I'm hoping it will stay in for tomorrow, too. :)
I love it! What a great idea!
ReplyDeleteThanks! I love it too! :D I was thinking about trying to leave it in tomorrow, too.... but now I think I want to try a new one tomorrow! We'll have to see how busy we are, I guess. Happy New Year!
ReplyDelete